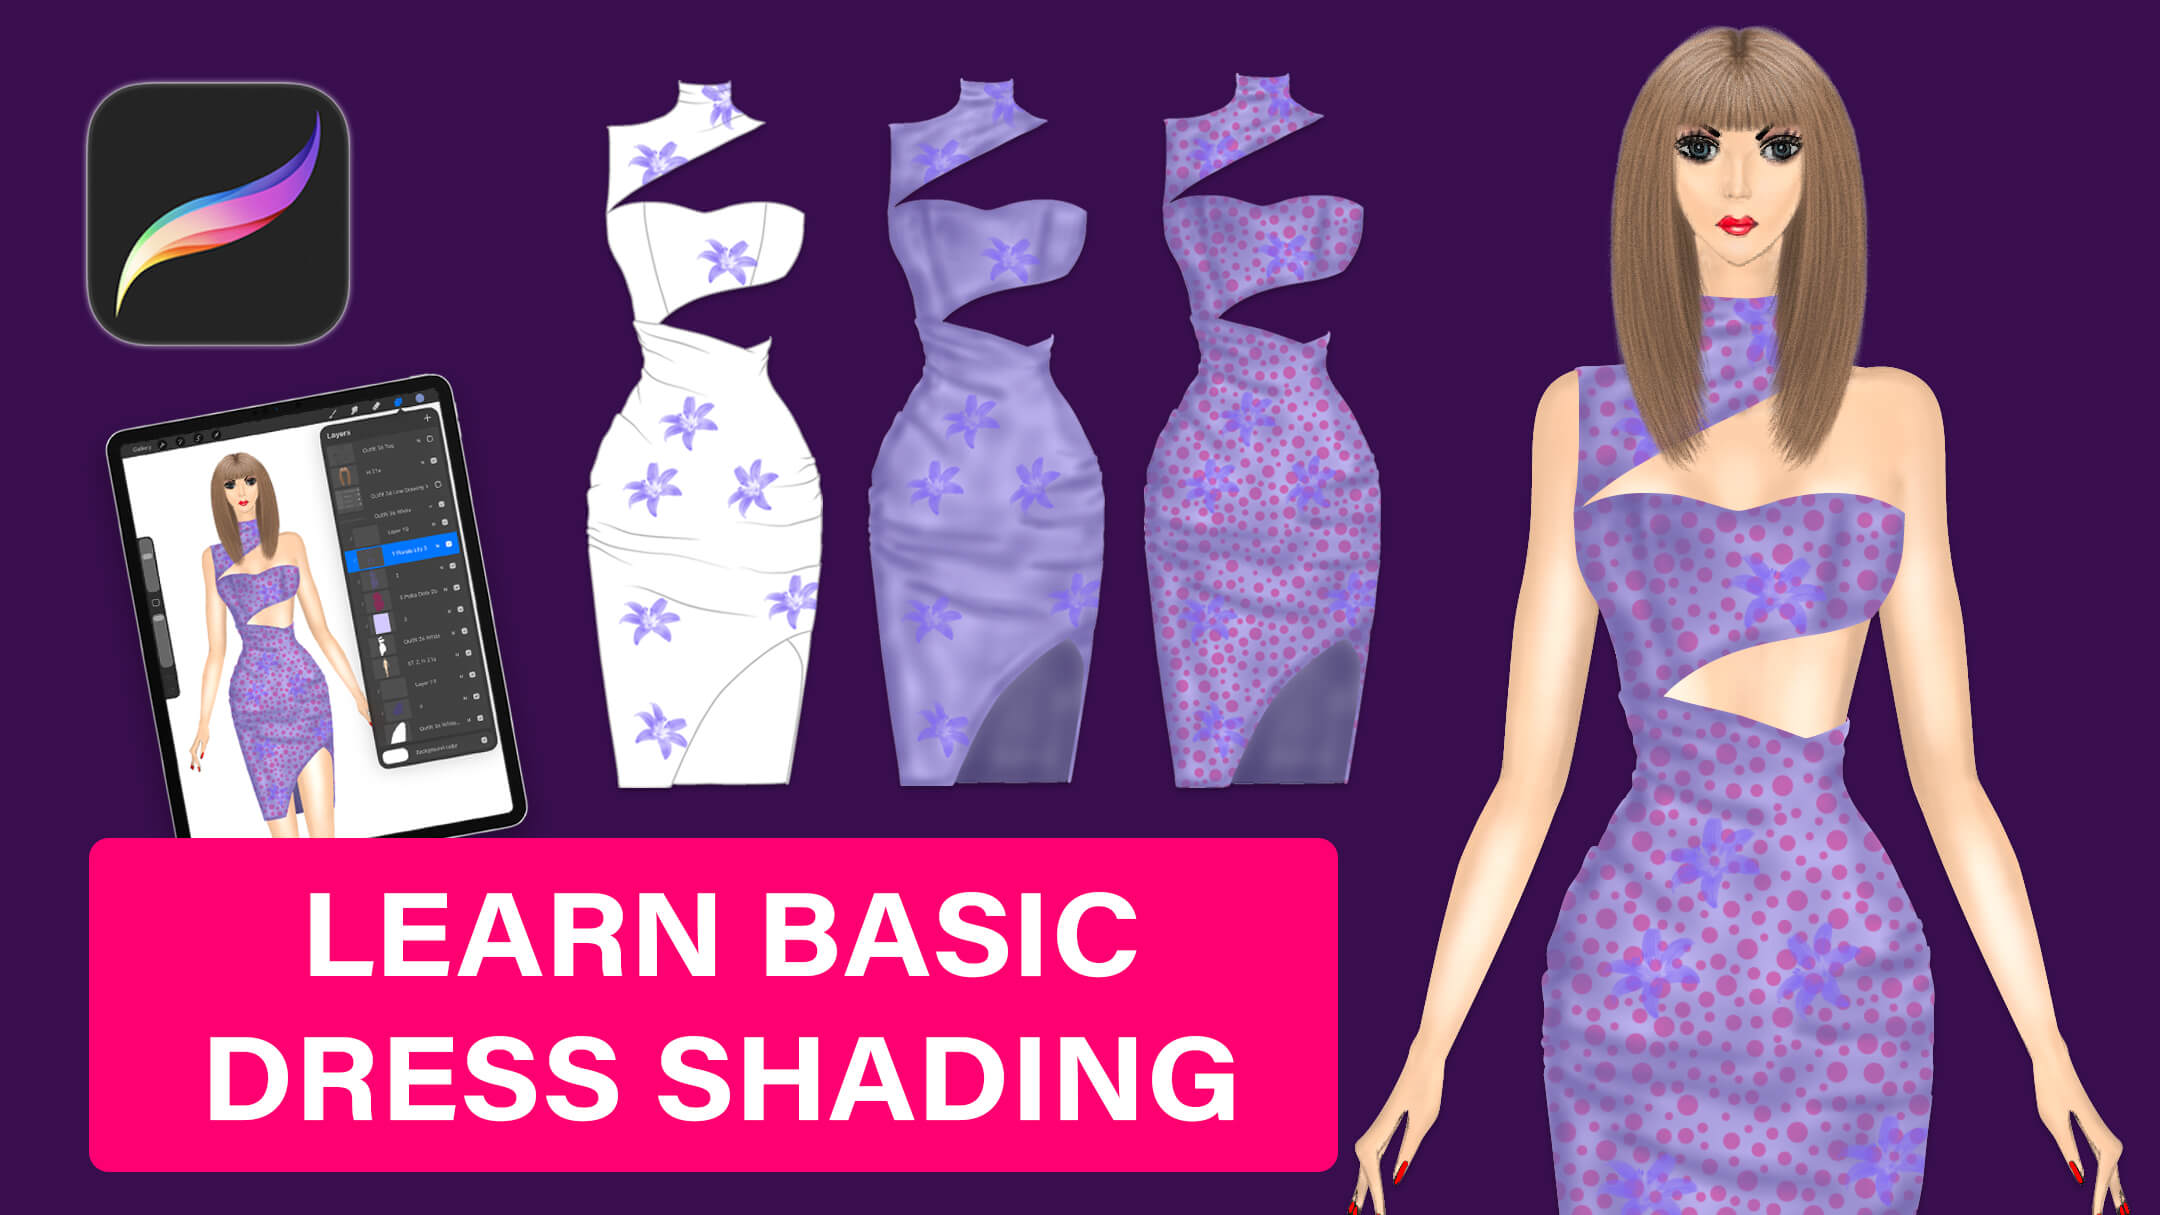
3 Decisions to Make Before You Shade a Dress in Procreate
The fastest way to make shading harder than it needs to be?
Start placing shadows before you've decided where the light is.
I used to do this too.
I'd look at a fold and think: "This probably needs a shadow."
Then I'd look at another area. "Maybe darker here."
Then I'd add a highlight.
Eventually I had a dress covered in shading, and no actual depth.
So now I make three decisions before I shade anything:
LIGHT DIRECTION → SHADOWS → HIGHLIGHTS
Not sure which of the three is missing on your dress?
I made a free Dress Depth Checklist that walks you through it — light direction, shadow placement, highlights, and overall consistency. Takes about 3 minutes.
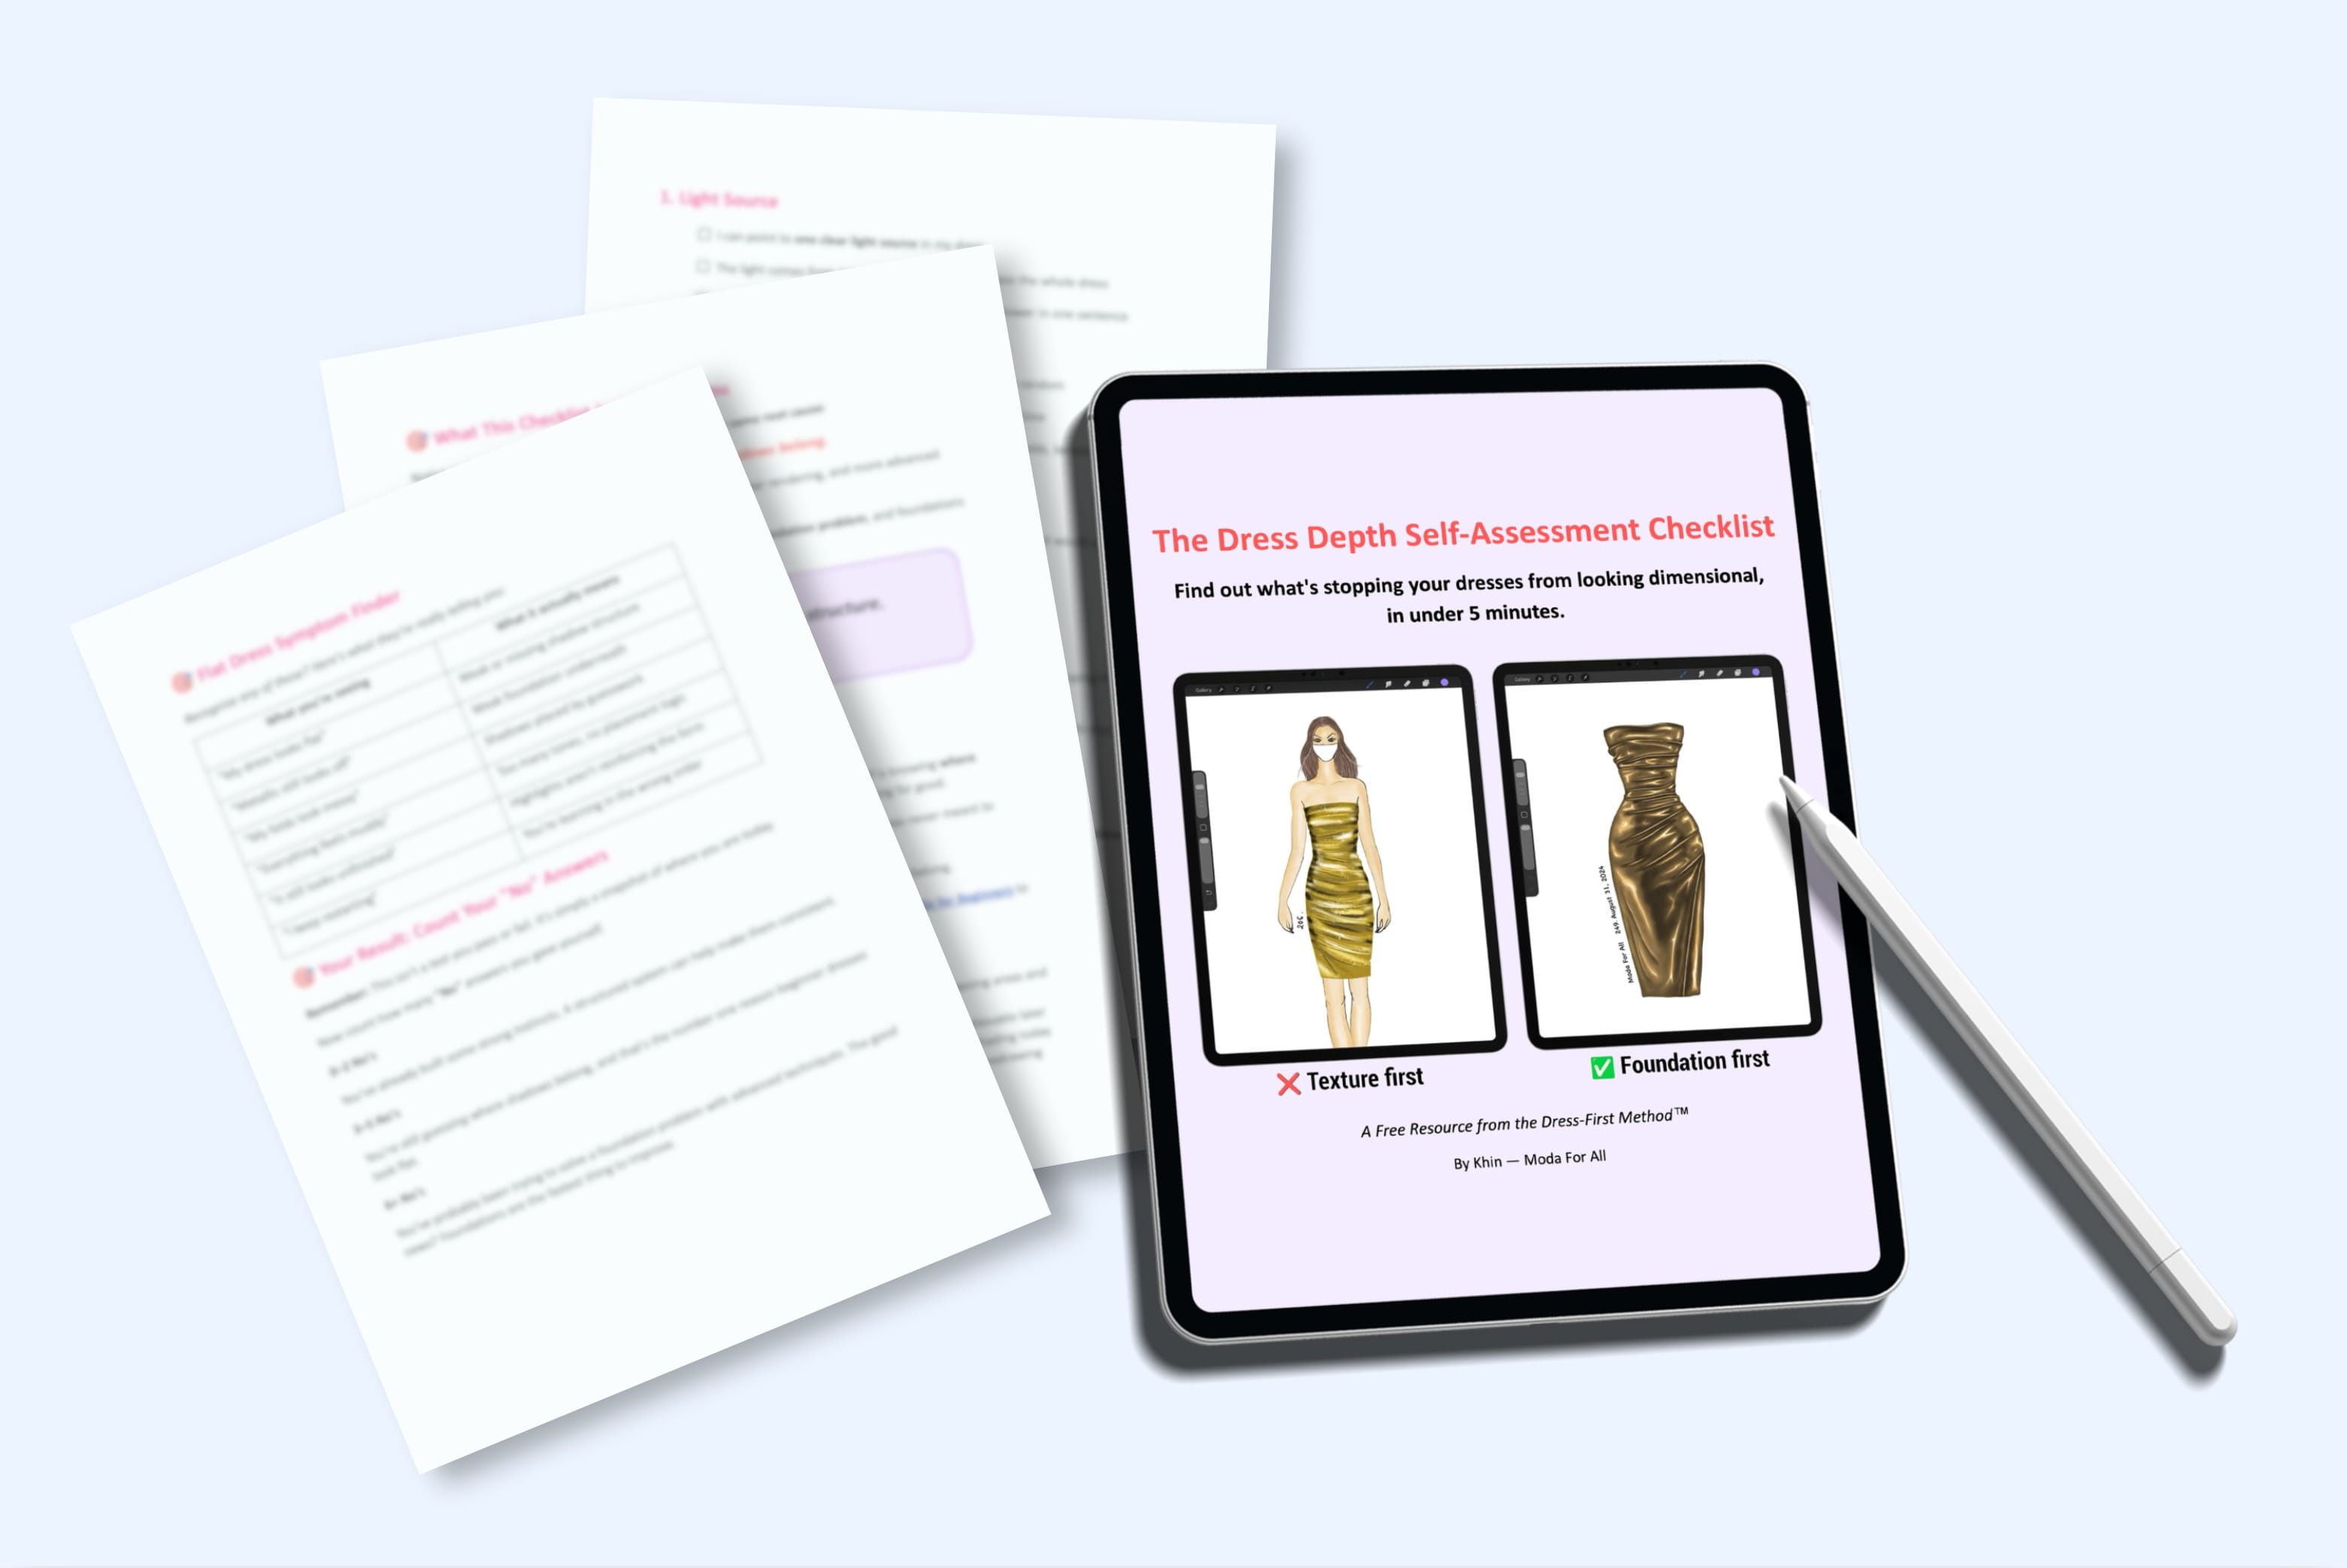
[ Give me the free checklist → ]
Here's how I use it.
1. CHOOSE THE LIGHT DIRECTION
Before you touch the shading layer, decide where the light is coming from.
For example:
Top-front. Side. Slightly behind.
Pick one. That's it.
You're not calculating anything. You're just committing to a direction.
Now ask: Which parts of the dress are facing that light?
And: Which parts are turning away from it?
That's your starting point.
You're no longer deciding every shadow one at a time.
The light is deciding for you.
2. ESTABLISH THE SHADOWS
Now go part by part:
The bodice. The folds. The gathers. The skirt. The sleeves.
Instead of asking: "Where can I add another dark mark?"
Ask: "Where is this form turning away from the light?"
That question has an answer you can see. The other one doesn't.
Notice what you're not doing yet.
You're not trying to make every fold dramatic.
You're not trying to create advanced fabric effects.
You're not trying to make the dress look finished.
You're building the form.
That's all.
3. ADD THE HIGHLIGHTS
I don't think about highlights until the shadows are done.
By then, the highlights have a job.
They're responding to the same light source. Not bright marks scattered around because the dress feels unfinished.
So before adding a highlight, ask: "Would this area actually catch the light I chose?"
If yes, add it.
If not, leave it alone.
That's the entire foundation.
Light direction.
Shadows.
Highlights.
If there's one rule to take from this: Don't add a mark unless you know what it's responding to.
It's also why I don't recommend starting with patterns and fabric effects. Patterns, textures, and brushes all change the surface.
None of them can build what's underneath it.
So the next time a dress looks flat, don't reach for another brush. Pause.
Where's the light?
Which parts are turning away from it?
Do your shadows agree?
Usually the dress doesn't need more shading. It needs shading that agrees with itself.
Find out what's actually making your dress look flat...
Reading about the foundation is one thing. Spotting what's missing on your dress is another.
That's why I made the free Dress Depth Checklist — a simple way to walk through your own illustration and check the things that actually affect depth: light direction, shadow placement, highlights, and shading consistency.
So instead of switching brushes, adding more detail, or starting over, you find the real problem first.
[ Get the free Dress Depth Checklist → ]
Takes about 3 minutes to work through.
If you'd rather not figure out the practice part alone...
The three decisions above will change how your dresses look. But knowing the method and building the habit are two different problems.
That's what I built the Complete Procreate Dress Illustration Bundle for Beginners for:
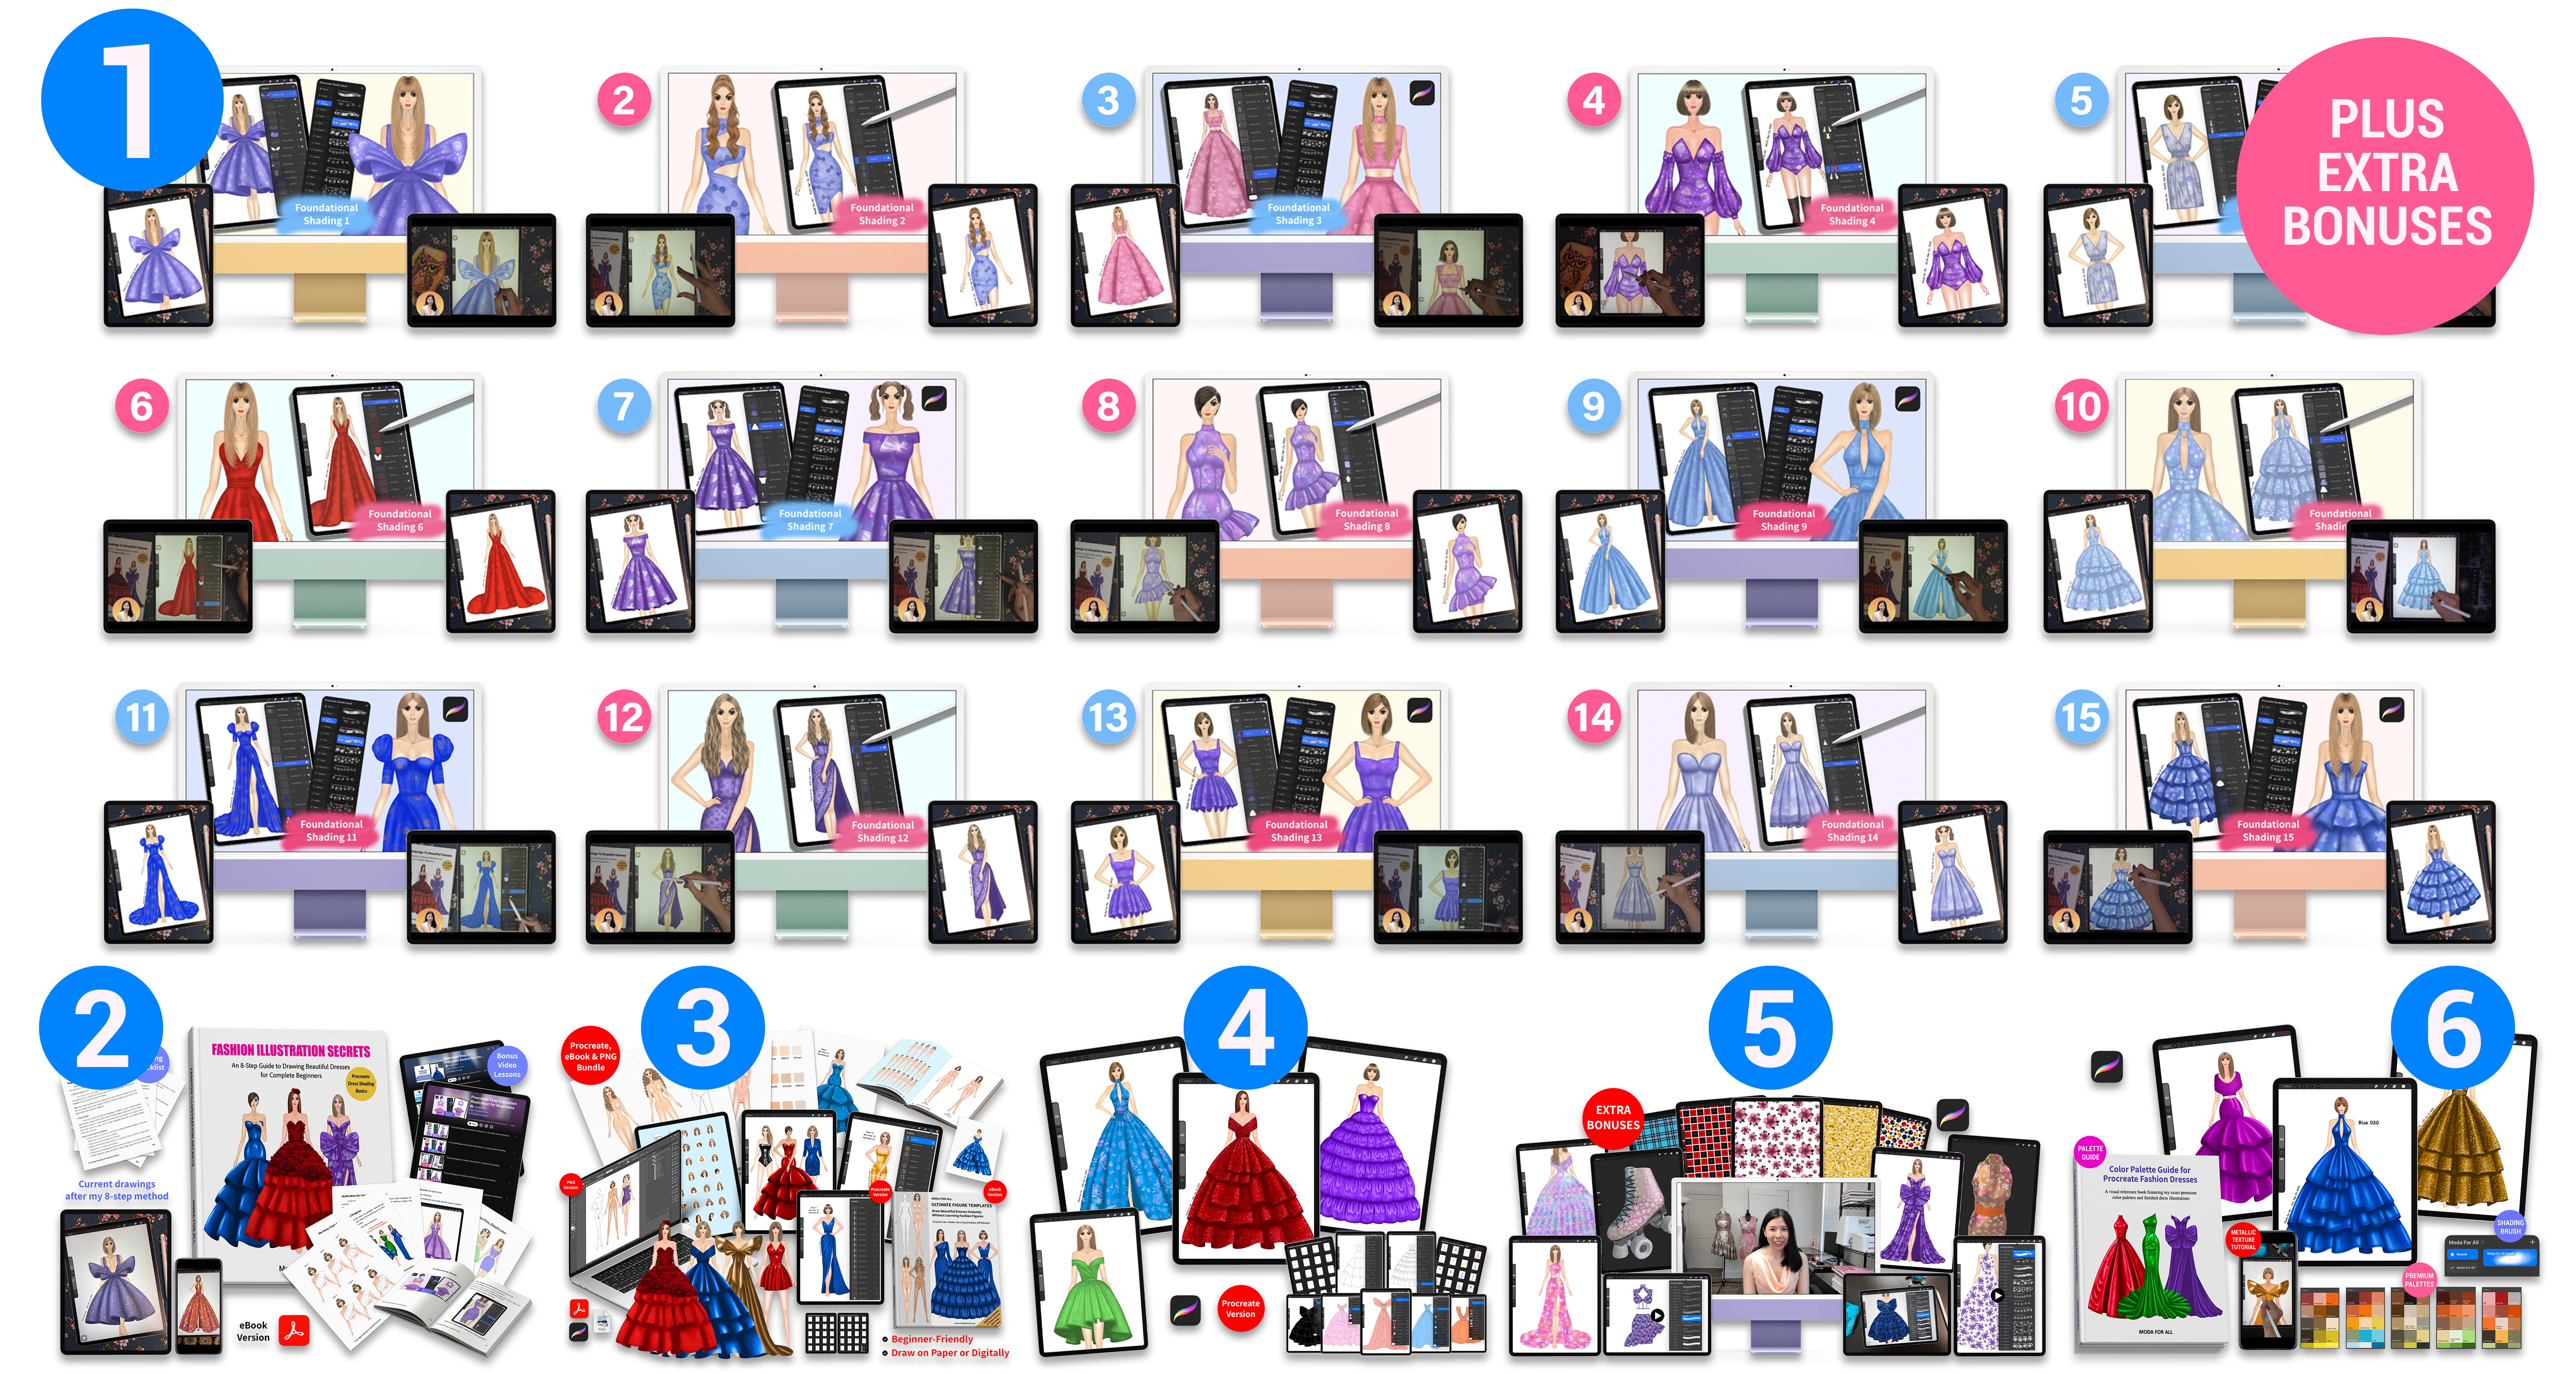
The Foundational Shading System: 15 beginner lessons showing exactly where shadows and highlights go on bodices, sleeves, skirts, and full outfits
A 300+ day practice plan: you shade a real dress on Day 1, then follow a guided path across 85+ more, so you never wonder what to work on next
The tools that remove the setup work: 400+ figure templates, 200+ mix-and-match dress pieces, pattern brushes, palettes, and shading checklists
So instead of collecting another tutorial and hoping it clicks, you have the method, the practice structure, and the tools built around the same beginner workflow.